Sorry folks, this has been a crazy week leading up to an even crazier week, (i.e. mostly stay at home mom suddenly begins working three full days a week without giving up any of her normal "stay-at-home mom" busyness), so I'm so sorry to say it, but this post is not in the cards for me this week. You'll have to make due with a slightly blurry photo of the Easter skirt in full bounce down the hallway. Ta-ta for now!
Showing posts with label clothes. Show all posts
Tuesday, April 17, 2012
Tuesday, April 3, 2012
Fat Tuesday's Easter 2012!
Annnd, done! Yay! No last minute Easter eve sewing for me...no hurried stressing... Well, that last part is not true. I received one of those lovely Shutterfly coupons last week for ten free cards and I wanted to do Easter ones but those coupons only last for two days. Quite honestly there was quite a bit of hurried stressing. Trying to get the skirts done, shirts bought, pictures taken, and cards designed in the one day I had left by the time I noticed the coupon in my inbox- But didn't they turn out cute and summery?
![]() |
| (darling popsicle fabric from JoAnn Fabrics- Lisette by Liesl and Co) |
My middle child despises dressing up so I went for a little bit more toned down and casual summer in hopes that she might wear it more than once without being forced.
The patten is the Layered Skirt Tutorial by MADE- go check out her darling seersucker version on her cutie pie Lucy- ADORABLE. Super easy and fun. I will say that while you can totally do this without a serger, the serger made it so much faster/easier/bouncier. Let's hear it for sergers!
Can I just say I adore this photo and my sweet youngest trying to cram a pink plastic egg in her mouth? Good thing they have little holes in each end- she has a VERY large mouth. Look at that forehead wrinkled in concentration while she tries to get it in...
Happy Easter my readers. May it be full of remembrance, and joy, and God's love, and bouncy skirts on bouncy babies.
Tuesday, March 27, 2012
Fat Tuesday's sole other pattern...
This is it- Easter dresses (and pants) 2011 !
The way I got conned into doing another pattern was really quite good. It was a present. My birthday is in February and my (very brave) friend gave me two patterns and two bolts of fabric as a birthday gift. Crazy? Yes. You should never, ever, do this to someone- way too much pressure- and what if they hate the fabric? Or the pattern? UNLESS they are your very best friend and know you well enough to take raving mad risks like this.
She was, (is,) and it was perfect.
(Mali's dress- reversible to the birds from Owen's dress on the other side)
This was for my littlest one.
I added the little cinch up on the left because I just can't bear to
leave well enough alone. It's outgrown now but I love the style because it can be a shirt with jeans or bloomers this summer for sure. The dots fabric is Heather Bailey's "Dream Dot" in Splash and the green pattern is from JoAnn Fabrics. I'm so sorry I don't have the name on it but it comes in a few colorways and I've used both the blue and green in various projects. The name of the bird print on the bodice of Owen's dress and inside of Mali's is Valori Wells "Nest"- BIRDS in Teal.
The patterns are both McCall's, M6058 and M6271 respectively.
(my favorite photo)
(or maybe this one- that was not posed, I swear)
(except that this one makes me laugh)
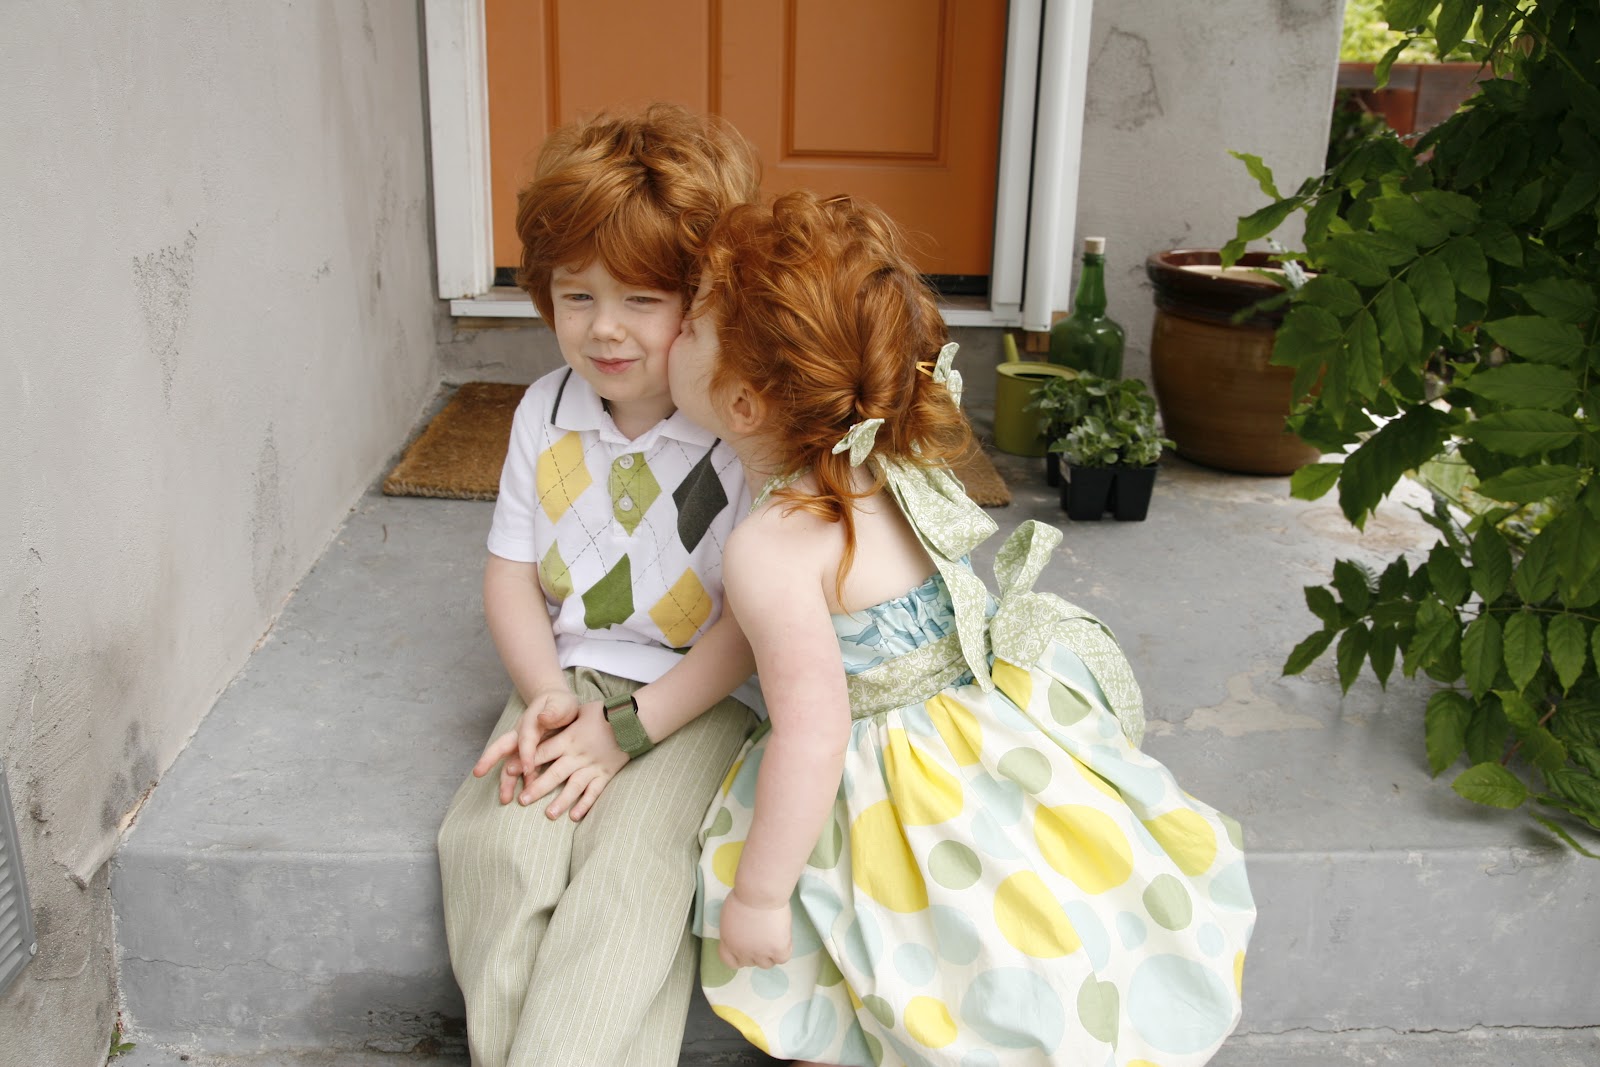
Keler's pants are some light green stripey twill from JoAnn Fabrics, I think they still carry it, the pattern is Dana's "Kid Pants" from Made. I love that pattern, use it for everything- especialy shorts. Thanks Dana! The shirt was two season's ago Gymboree.
(My three babes- Mali tearstained but smiling after some rather excellent brother snuggling)
All in all, quite the success, even if Mali's headband is too wide and makes her look balder than usual, (maybe that's why she was crying?).
(If I did it again I would cut down the width and length of the ties, maybe even just use ribbon?)
Check back Tuesday for this year's skirts and a little bit more hair on everyone!
Happy Easter sewing out there....
Tuesday, March 20, 2012
Fat Tuesday sewed a pattern
(and she kicked and screamed and only did it one more time ever)...
Easter is coming y'all! Remembrance of the greatest gift ever given, the annual Smith egg hunt.....and new dresses! Well here is my first attempt, (two years ago), at an Easter dress to get you in the mood to sew something for the little one's in your life...
This was my second sewing project ever. It's a "See & Sew" pattern #B5198. It was a bear to sew. I'm not sure if it was the pattern or just that I was so new to sewing in general but it seemed excessively hard at the time.
(PS- check out that wrist chub- she slays me. I'm so in love)
It's supposed to have a zipper but I fell for these buttons so I adjusted it a bit for elastic loops and buttons instead...
In retrospect I should have used a solid fabric, it turned out way too busy for my taste even with the seemingly simple pattern. I like the bright springiness of it, but it seems a bit overwhelming.
So there you have it- dress, bag, and headband (way too scrunchy- live and learn) all made by Mama for my first girl on her second easter. (And for the record the things she's double fisting are grapes and strawberries- a treat but not one to make a kid go crazy in church, just one to make Mama stress about the dress and strawberry juice...).
I'll be back next week with last years dresses for both my girls (and a pair of pants for the boy!), and the week after that with this years skirts. Happy dress making folks-
Sunday, March 4, 2012
Ahoy!
I'm taking a break from my quilts for a bit to tell you about my newest hobby: sailing.
...joking...
One of my favorite movies is What About Bob?. You HAVE to watch the "I'm Sailing" video clip. It's one minute long. Do it. You know you want to.
"Dr. Marvin! Guess what! Ahoy! I sail! I'm a sailor! Isn't this a breakthrough?! Out on a boat...on a lake...way far away from the dock...with the wind, and the wind, and, and the sky and everything?? AHOOOY!"""
No, really, I am taking a break from my quilts (just finished one last week!) (and I have two more to work on!) to sew a couple little ties onto some onesies. I had a friend special order a tie with a sailboat theme (hence my reference to What About Bob), as she's going to an 80th birthday party for someone in her family, and there is some sailing significance.
not sewing the little onesie to itself is difficult
corners are difficult
So my question is...when using a zig zag stitch, how do you make the corners identical? As I'm turning the shirt, sometimes it looks like I went over it twice (like the top left corner) and sometimes it looks like I completely skipped it (like the top right corner)! Any help on that one?
Maybe I can get a cute picture of the 2 boys in their shirts and post an update! I'll see what I can do for you, faithful readers...
Did you watch the video clip? :)
Tuesday, February 28, 2012
Fat Tuesday's Vintage Skirt
My love affair with fat quarters is largely due to how inexpensive they can be; which of course naturally leads me to thrifted fabric. In the case of this skirt not only thrifted but thrifted by someone else and then given to me- i.e. free!
It began with Melody (Monday's girl) finding a darling top sheet at a thrift store and using it to back a quilt (one of my favorite quilts of hers, I'll have to make her share it with y'all). The next weekend found Holly (Thursday's girl) and I marching out of the same thrift store with three or four sheets each. The darling vintage flower print found it's way home with her, under my admiring eye, for a total of 0.95 cents. Where she proceeded to use it to make a purse that she sold at Oktoberfest and a few other little things before deciding that she was tired of working with the same fabric over and over and passed the rest of it on to me- why yes, thank you!
The pattern is a bit of a game of six steps to Kevin Bacon (did you ever play that? You try to connect everything to Kevin Bacon in six steps or less? It's weirdly uncanny how it works). About a year ago I was on a blog that I read frequently (can't remember which one), which led me to another blog, which led me to another blog, which had this darling tutorial for a forties inspired high waisted skirt. I skimmed over the tutorial and liked the skirt so much that I swear I favorited it, (this was way back in the days before pinterest), but I was never able to find it again. It was such a great skirt though that I cobbled together what I could remember of the tutorial and made up my skirt- except that this is not that skirt. This one was inspired by that one. There were a few improvements that I wanted to make to the original to make it faster to pull together and then several of the changes were due to not having quite enough yardage in my gifted half of a sheet.
Have I lost you yet? If you're still here I'll give you a quick rundown on how I made it. And please, please, please if you're interested in using this as a tutorial, feel free, but read thru the whole thing first to make sure you know everything before you cut out your pattern. You may need to adjust here and there to suit your needs (i.e. the length of skirt- I didn't need a hem so my skirt measurement is full length- if you cut that piece according to my measurments and then added a hem you'll be sporting a very full mini skirt and I don't want you to bring back the eighties on account of me).
Below is a quick sketch of the pattern pieces- not the actual pattern to scale so don't try and print it out, you'll be sorely disappointed, but an idea of the shape your pieces should be with measurements that fit my frame so that you can adjust as needed. In skirts I'm roughly a size two, just so you have a starting point for the measurements I'm giving you...
Still following me? You're brave, okay- so first turn on your iron and get that heating. Now haul out your serger (or flip to your zigzag stitch if your house is sans serger) and lets get those exposed edges taken care of. (note: when I give instructions for a piece that there are two of do the same to both pattern pieces).
Piece #1- serge (or zigzag) side "D", iron along the fold (right sides together of course) and serge sides "C" and "B" together. (You can sew it as well if you like or if you're using a zigzag stitch you'll need to, but the serger alone works fine for me). Turn them right side out and iron them flat. Nice, now you have your two ties.
Piece #2- Serge all four sides, turn all four sides under (just the width of your serged edge) and iron down to give a nice crisp line starting with the short sides. Now fold in half long ways (wrong sides together) and iron again as sharply as possible.
Piece #3- Hold it up to your hips and decide where you want your pockets. (A quick note on the pockets- make sure that the wrist edge is wide enough to get your whole hand thru easily- not that I found out the hard way or anything...). Pin your pockets (piece #4) in place (wrong side of pocket to wrong side of skirt) and and serge the wrist edge to the edge of your skirt. I didn't actually pin these, but you could, if you're into that sort of thing. Now serge (or zigzag and sew) your two skirt pieces together above and below your pocket opening to make one long skirt piece.
Whew, still with me? Let's keep going...
Piece #3- Grab a piece of 1" no-roll elastic and cut it to fit the top of your hips plus 1/2". Mine was 31.5 for reference. Fold the top edge of your fabric over 1.25" and iron down. Don't sew it down yet. A few notes on the hem. I used a sheet and I used the top (4" hem) of the sheet as the bottom of my skirt, which I think turned out nicely. If you happen to not use a sheet you'll need to add extra length (4.25") to piece #3 and add in a hem, now is the time to do that if you need to- go ahead, I'll wait..... Okay, done? Great. Now serge the two ends of your long skirt piece together above and below your other pocket (right sides together of course) to make a circle of skirt. Now you can go ahead and stitch that top fold on your skirt in place so that you have a channel for your elastic. Remember to start at the back of your skirt and not at a side hem and remember to leave about an inch and a half open to fish your elastic thru. Go ahead and fish your elastic thru and sew it together by overlapping it 3/4" and giving it several strong lines of stitching back and forth. Now sew your hole that you fished the elastic thru closed (this is also where you would put in a tag if you want to be all cute like that- I always want to and often forget). I like to catch my elastic here just a tiny bit so the bump of the elastic that was sewn together can't work it's way around to the front. Grab your pocket flaps and serge those right sides together so that you have pockets instead of flaps. Turn your skirt right side out. Set this aside and lets get the waist band going.
Pieces #1 & #2- Take one of you Piece #1's and sew it down to the folded (remember we folded in just a quarter inch and ironed it?) edge of either side "B" or side "D" of Piece #2. Do the same thing with your other Piece #1 to the opposite side of Piece #2.
Hang in there, we're almost done...
Now this next part is a bit tricky to explain without photos but I'll give it a whirl for you... take Piece #2 and stitch the wrong side of it to the inside of your skirt waist band with the rest of it above the band. You want Piece #2 to eventually fold over and for the ties to be on the outside of the skirt when it's folded over. Like Piece #2 is an upside down bun and the skirt is a hotdog but I only want you to sew the inside part right now and I want you to sew it very close to the elastic but be careful to not actually catch any of the elastic. And be sure to line this whole thing up so that the middle of Piece #2 is at the middle of the front of the skirt (Piece #3). Clear as mud? Good. (I should mention here that the waist band is not meant to go all the way around- there should be about 4" of exposed skirt in the back- this is both for ease of putting it on and for aesthetics).
Last part. Fold your waist band over, (being careful to keep your ironed 1/4" tucked under), and stitch it down to the front of your skirt, again being very careful to not catch your elastic. I stitched it down and then gave it another line of stitching 1/8" lower just to give it a bit of a more professional look. Done!!! Slip on your skirt, (the elastic should move freely and make it very easy to slip on), and either tie a big bow in the back or just give the ties one tie around each other in the back and do a cute little knot in the front.
There you have it folks- my one of a kind, so far from the "can't find it" tutorial of the inspiration skirt that I'm considering it an original design, fifty cent, thrifted vintage skirt. Like it? I do, especially with a bold pair of $5 blue Target tights. Happy Tuesday my lovely sewists. Hope I didn't make your ears bleed too badly with that one. Feel free to put questions in the comments and I'll do my best to help.
Labels:
clothes,
fat tuesday,
patterns,
re-purposed,
sewing,
skirt
Tuesday, February 21, 2012
The humble beginnings of Fat Tuesday
So, waaaay back two yearsish ago, our beloved nanny, Ledah, decided to go and graduate college and get married. I know right? Uncalled for- we miss her terribly, still. Her husband is lovely though and I suppose everyone has to grow up sometime... She told me about her engagement by way of asking if she could have the kids (just Squeaker and Odie, who were barely four and two at the time. Missy was just a large bump on me) in her wedding. Yes!! Yes, you may! Now what to wear? My first thought was tutu and when she called and said "well, I know it's unconventional, but what about something in the tutu sort of genre?" I knew I was going in the right direction. Except that we couldn't find anything in ivory- only white. Her dress was decidedly ivory with touches of a darker coffee with cream color- white just wouldn't do. So I opened my big mouth and offered to make it... What was I thinking? I didn't sew! My machine was given to me by my grandma (another story for another time) and was circa 1950's. Plus it had serious bobbin issues... Hmmm... Well I was committed, so I borrow my neighbors sewing machine and set off to find a base shirt to work with.
(the dress)
Baby Gap tank in the clearance section- score! I bought a lightly patterned quarter yard of ivory cotton to be the under skirt, a yard each of ivory and shimmery ivory tulle, and a quarter yard of white jersey knit for the sleeves.
(Odie 2, Squeaker just barely 4- both mine)
I started with the sleeves. All I could find was white jersey (this was way back before I knew where to look) but my mother in law had the great idea to tea dye them- which worked wonderfully and gave it a lovely vintagey look where the dye gathered at the edges of the fabric and made it darker, so cute. (I will warn you though that when I washed it-,(thankfully I had the good sense not to wash it before the wedding), the tea DID wash out and I was left with white ruffles like you see in the top photo; so beware). I cut three half moon shapes of varying sizes for each sleeve and gathered one edge and then just stitched them on in progressively smaller sizes one on top the other.
The under skirt when on fairly easy, I just gave it a quick gathering stitch and then basted it directly to the bottom of the shirt. Same thing for the tulle. I cut it into strips about eight inches wide and sixteen inches long and folded it over to make an offset square. Then I gave it a gathering stitch on the fold and sewed it to the skirt alternating shimmery tulle and matte every other one. This is where things got hairy. All was well but it was getting later and later and I guess I was getting tired because I ended up catching a bit of the shirt in the stitching I was doing for the skirt. Oh horrors- I picked it out as carefully as I could, (my MIL was in town and she helped- but I was using very tiny stitches and even with the patience of both of us...well), but it was no use- there were holes in the shirt and still a bit of shirt tucked up in the skirt that refused to yield to my seam ripper...sad. Off I went to Baby Gap with my fingers crossed and a prayer in my throat. Yes! They had one more on the rack in her size, hurray! Home again home again jiggity jig. I just snipped off the skirt whole and sewed it on the next shirt. Probably not the most professional method but it looked fine and I was not starting all over again...
(Mr Handsome and one of his three favorite girls)
Lastly I stitched on a few rolled flowers at the waist, some dyed, some not, and called it good. The bride LOVED it- which is all the matters- and Miss Odie looked precious all day long. Even when she sat down at the end of the isle and bawled and refused to go down it even with Squeakers encouragement and I had to carry her down and got to be in the wedding for several impromptu seconds huge belly and all- even then she looked adorable.
(gazing)
This last photo clearly has nothing to do with the dress, but aren't they the sweetest? I could just eat them with a spoon, to say nothing of that cake and our dearest Ledah's fantastic taste in flowers...
And that my friends, was my first "real" foray into sewing...
Tuesday, February 7, 2012
Fat Tuesday does feet
Adorbs right? And they finally fit! I made these from Anna Maria Horner's book Handmade Beginnings way back when I was pregnant with Missy, (who turned 16 months today- sad and wonderful at the same time), and didn't know if she was a Miss or a Mister, (pay no attention to the large pink polka dot- good thing she was a girl eh?). They are super charming and easy. It probably took me three hours to make these and that was waaaay back two years ago when I was considerably slower. Cozy flannel on the inside and cotton on the outside- I should have used some sweet "Little Folks" fabric but sadly I didn't know where to buy it at the time. (Which, incidentally, if you live in the San Diego area go by Maisonette for fabric- great selection and darling girls to buy it from. I love them). If I made these again I might cut down the pattern for a newborn and spring for some colored elastic. Go over here and see where I blogged about them before, (or go over there because you can see them on cute baby feet).
(A word on covered buttons because Melody asked me to share- they're easy and fun, you can buy them over here. They don't take a big fancy machine, just a simple rubber knob that usually comes with the bottons. I like to put a hair elastic thru the loop of the button and use them as last minute presents for little girls or just on any clothing project- they definitely take take handmade up a notch).
Thursday, February 2, 2012
Reminiscing About Oktoberfest
I confess that I have have not sewn a thing this week. Between being pregnant, having a slight cold and just the busyness of life, the week quickly passed by.
My computer is my TV, or my TV is my computer, whichever way you look at it when my screen saver goes on it scrolls through all of the pics on my iphoto. I was watching it the other day and a few photos from this past October's Oktoberfest came up and I was able to reminisce about my experience. I decided to go ahead and share some of that with you.
Here is an inside view of out both:
Here is an outside view of our both:
Well, come back next Thursday... I promise to have some sewing to show you and possibly even a completed project.
Holly
Tuesday, January 31, 2012
Billy Cardi with Fat Tuesday
So....here it is folks. Fat Tuesday's version of the Billy Cardi.
I found this adorable cardigan on No big dill several months ago and decided to make one as a gift. We won't mention for whom or for what holiday as it has not been given yet...but lets just say that the fabric was bought in early December and the cardigan was just made a few days ago. Oh but girls, (boys? are there any boys present?), it is so easy and fun! I was a little edgy, (in truth I've been puting it off for sheer lack of confidence), but it came together so quickly. I could have done it in one evening if I hadn't started at 10:30 at night. In fact I didn't even need to cut apart a shirt to use as a patten; I just smoothed out one of my current long sleeved t's and it worked out great. Thanks so much to Katy for the fantastic tutorial!! (Pretend not to notice that hers is a bit cuter than mine...).
A few notes:
*The Sulky thread that is used for the detail stitching breaks easily- Katy very
kindly mentions this and tells you not to use it for seams- I'm just reiterating
because it broke several times on me just during the detail stitching.
*I personally wasn't able to get my fancy stitching large enough to notice on the
ribbed jersy, but that was quite possibly opperator error so give it a try and tell
me how it goes for you.
*This whole project took me about three hours (and over half of that was figuring
out the pattern and cutting it out) and 1.5yds of fabric (buy as much fabric as she
says to, I'm quite a short and small girl).
*Go thru the trouble to do the top seams inside out and sew them down- it's such a
great detail and it takes the piece from Old Navy to handmade chic, nothing
against Old Navy of course!
*It's super comfy, go thru the extra time and fabric to lengthen the sleeves like she
says- so worth it!
So thanks again to Katy from No big dill, I love your cardi. In fact, I'm off to find me some good jersey to make one for myself, I want to sew thumb holes in the sleaves of the next one!
Subscribe to:
Posts (Atom)